Review on Gigabyte B365M D2V Motherboard LGA1151 v2
3 min readI want to share my impressions of the motherboard on the socket 1151v2 CoffeeLike: GIGABYTE B365M D2V
Do a system upgrade this year, so choose a modern board so that there is no need to tinker with BIOS to work with processors of the 9th generation. The next criterion for choosing the board was a lot of SATA ports and an M2 connector for an M2 format SSD drive. And of course, the price that this board has is very affordable. I don’t do overclocking, streaming and overclocking, so I don’t see any reason to overpay for Z-chipsets. Also pleased with the 3-year warranty.
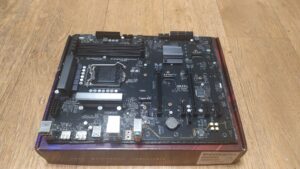
Below is a photo of the box:

Side view:

As you can see, the manufacturer indicated support: 9th series processors, DDR4 memory, M2 drive and USB 3.1
The box was not sealed, inside the board itself was sealed in a package. It can be seen that it did not open before me. Complete with a board: 2 SATA cables, a cover on the back panel, waste paper and a disk with drivers.

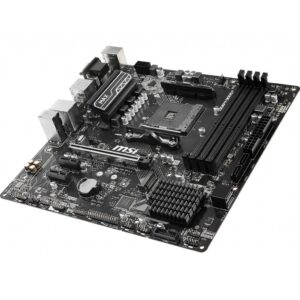
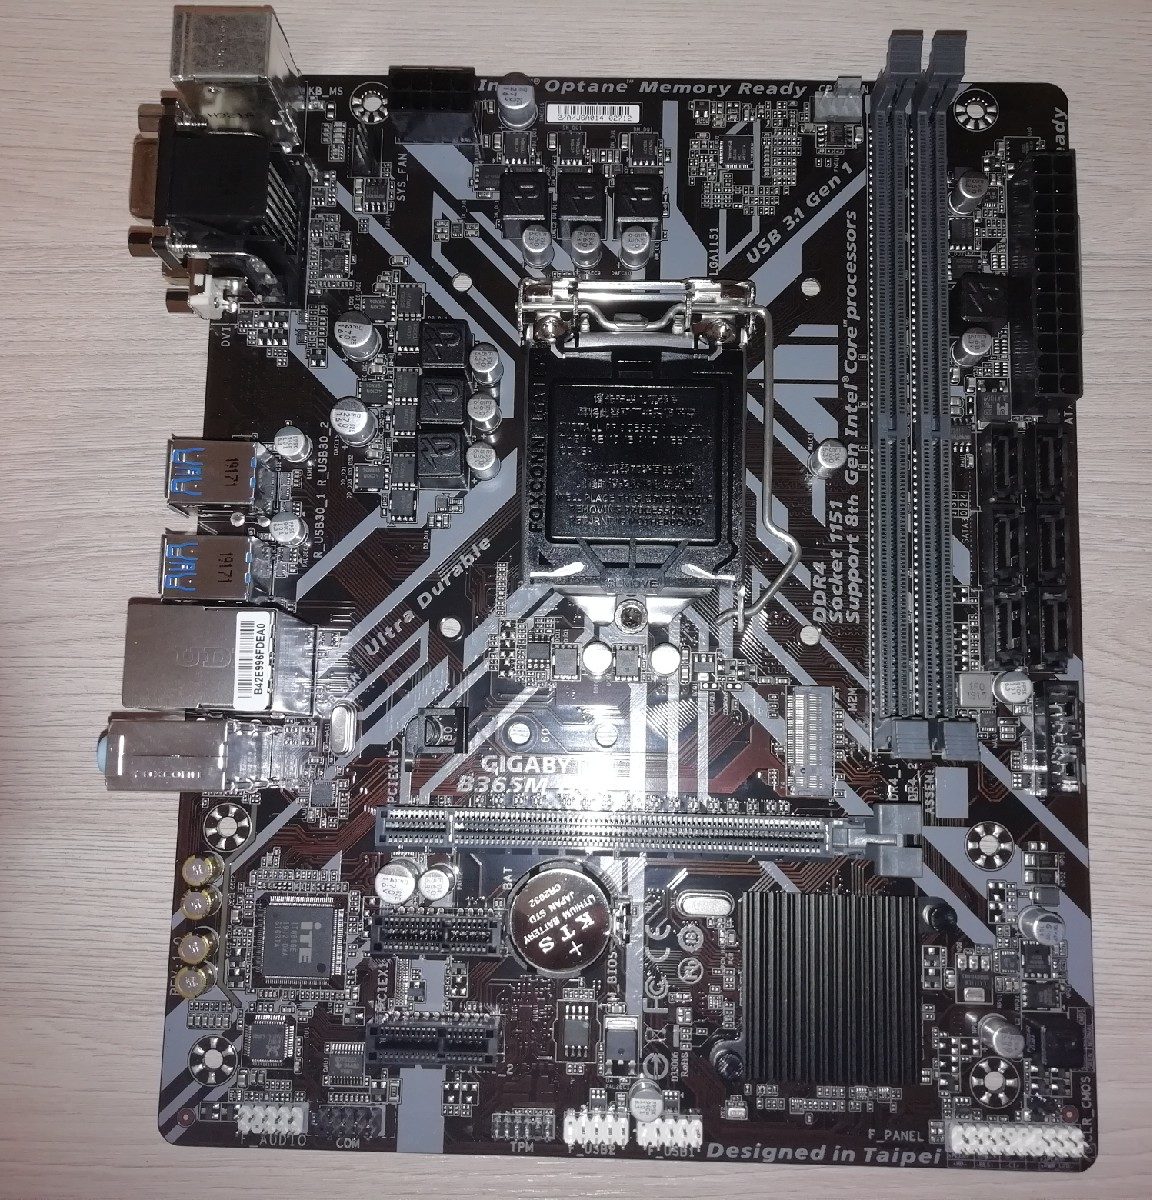
The board itself:

The socket is carefully covered with a plastic cover.
Behind nothing remarkable textolite:

Socket closeup:

All contacts and SMD components are intact.
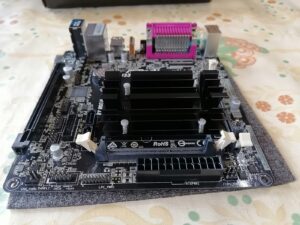
Around the socket, we observe 6 chokes, which indicates 6 phases of power:
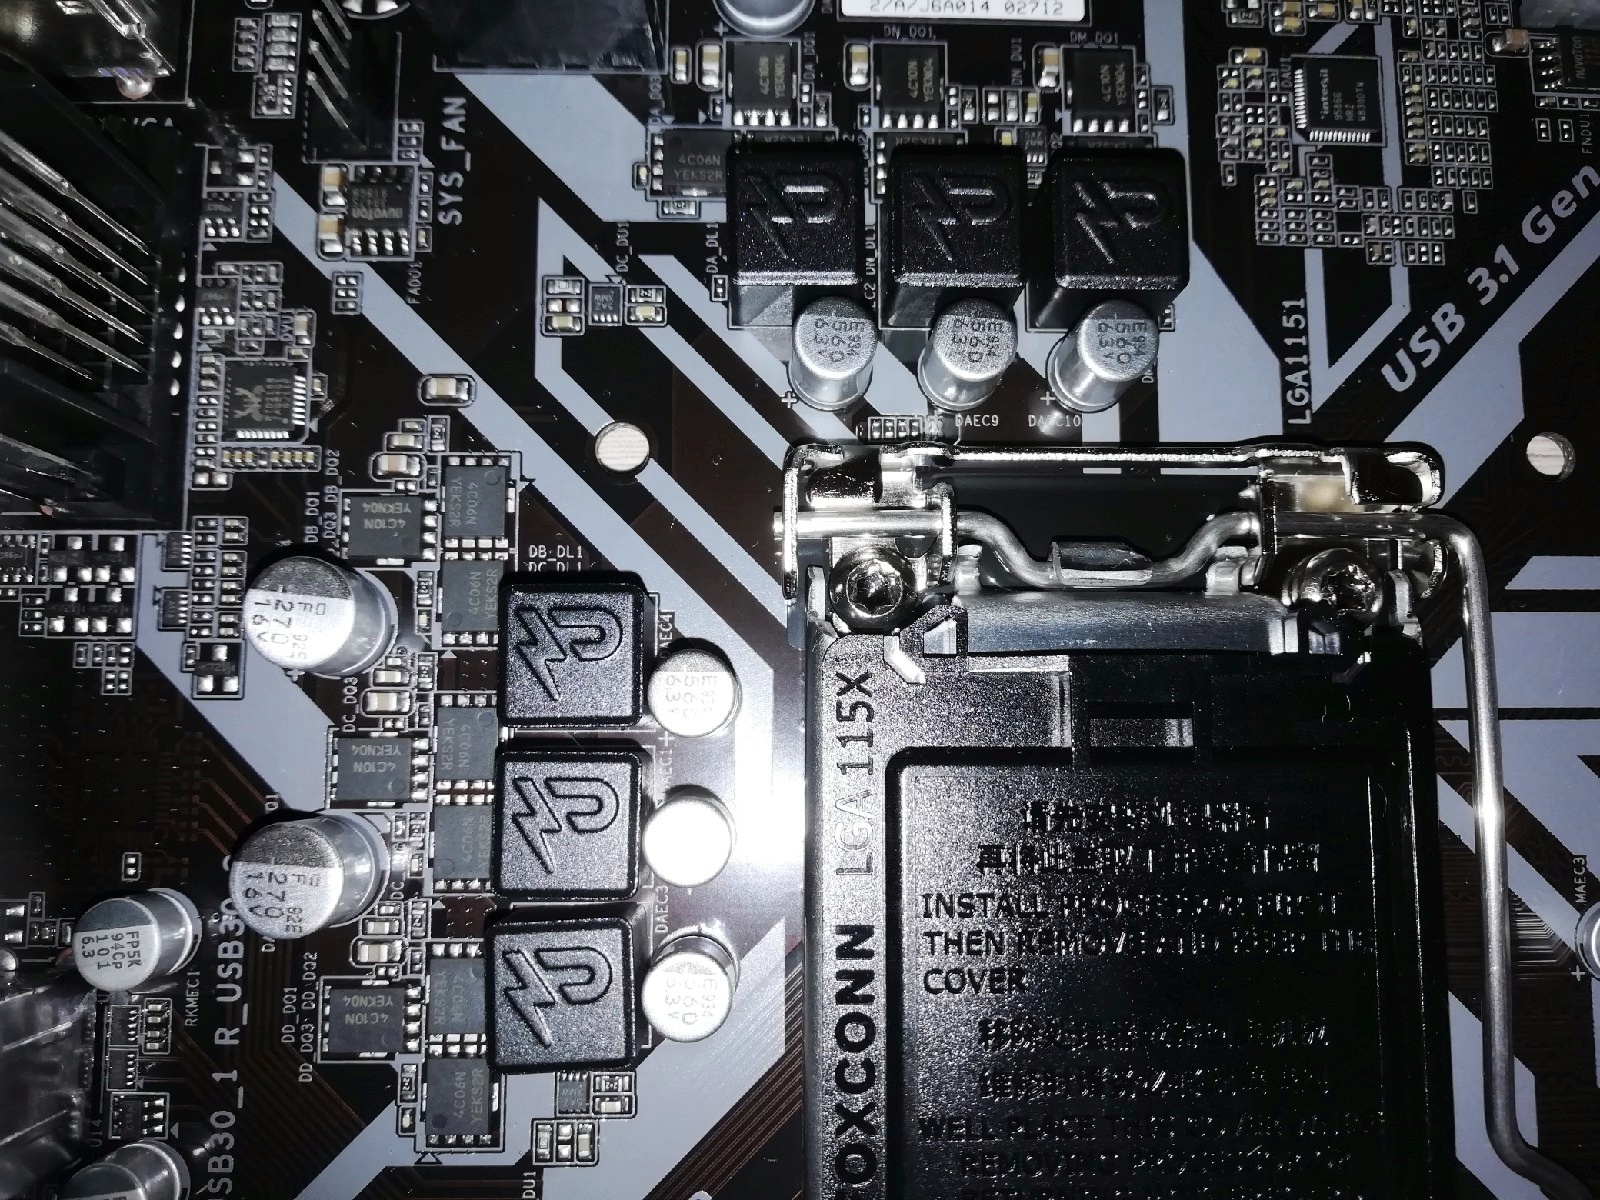
Theoretically, the larger the number of phases, the lower the load on each phase, the less heat and more stable the power in the load surges, as well as the higher the durability.
Unfortunately, there is only one BIOS chip on this motherboard, which means that you need to be careful with the BIOS. If it “flies”, then you can fix the situation only by connecting a special programmer, and you may have to solder the chip.
BIOS version costs F2:

It is also possible to switch to the classic look.
Two slots for RAM, I think more than enough. The maximum memory frequency of 2666 MHz. I inserted 16 gigs with two slats of 8 each with a frequency of 2666 MHz. True, the installed processor (Intel Core i3-9100f) works with a maximum frequency of 2400 MHz, so the memory does not have to work at full frequency. But nothing, and this is for the eyes.
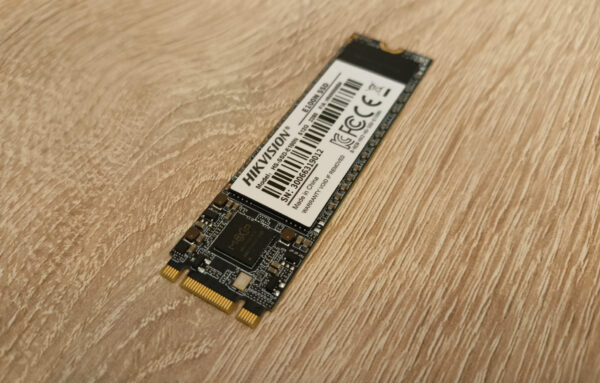
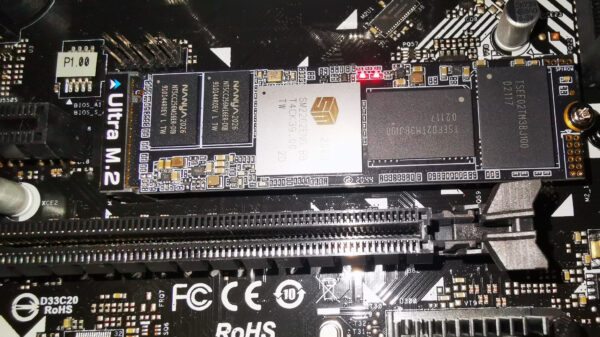
For a long time I could not figure out the mount for the M2 drive. As a result, pulled it out of the hole. DO NOT DO THIS! You may damage the board:
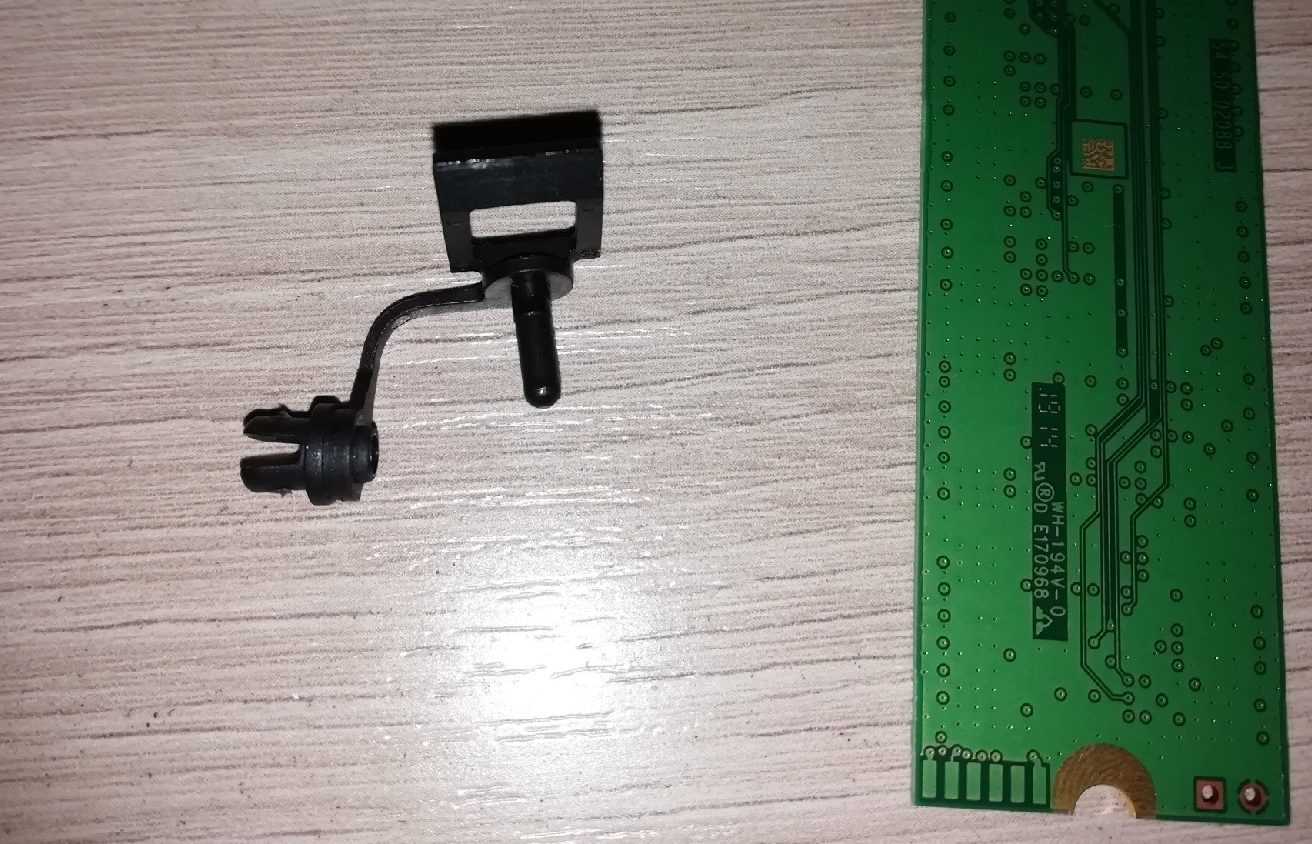
Everything turns out to be much simpler. we take out the pin and after installing the drive we insert it back, pressing the drive with a square eye:

In general, I inserted a processor, memory, drives and it all worked right away. There was already a Windows 7 OS on the hard drive. Immediately booted. True, I still had to reinstall it, since the drivers were already on the old motherboard.
In general, I want to say that this motherboard completely satisfied me both in price and in other characteristics. I am satisfied with the purchase. In the future, there is scope for an upgrade. you can put the processor here even though I9, since there is an 8-pin processor power connector for this.
I hope this review was complete.
The article is written on the basis of materials of this site.